Jim's Woodworking Shop
Photo Gallery
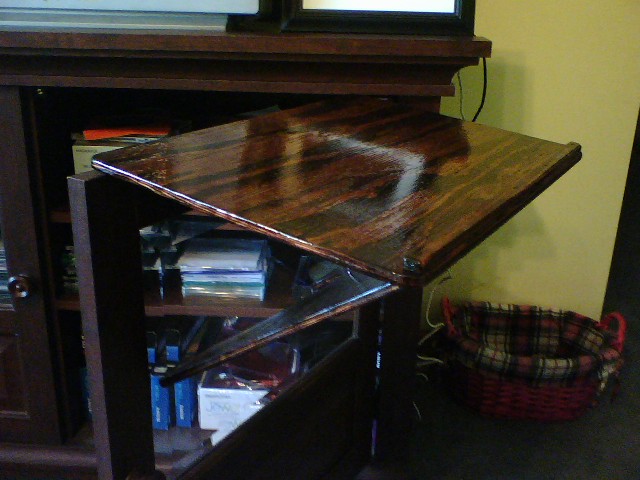
Latest Project
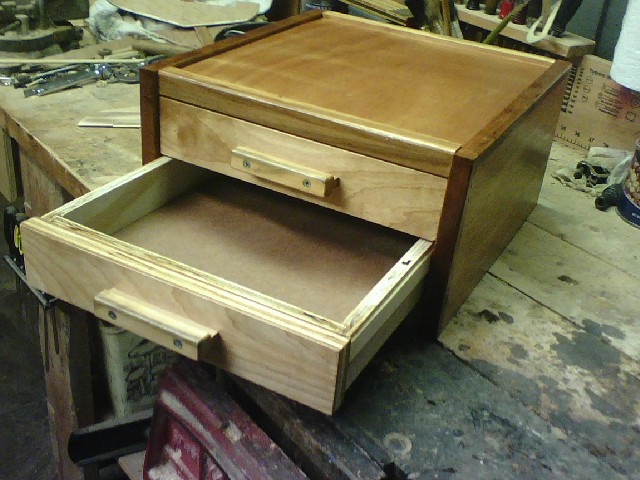 Tool Chest |
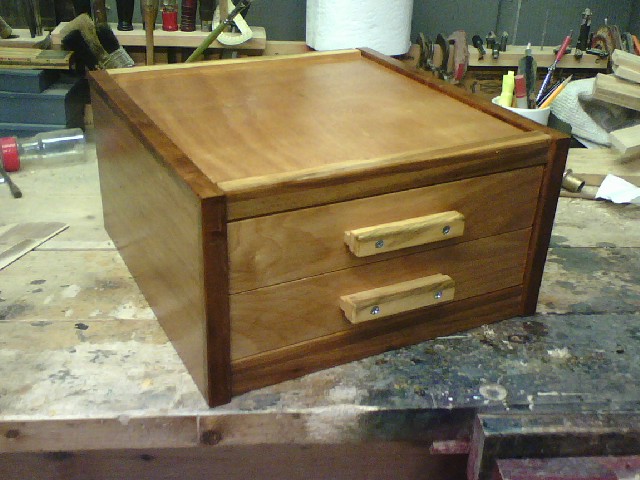 Tool Chest |
Latest Toys
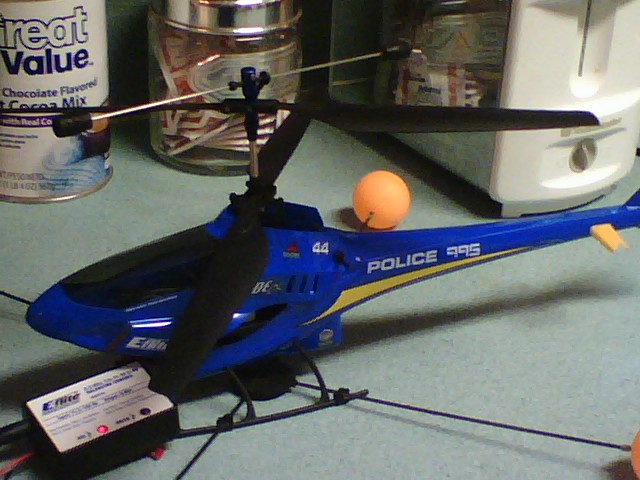 RC Helicopter |
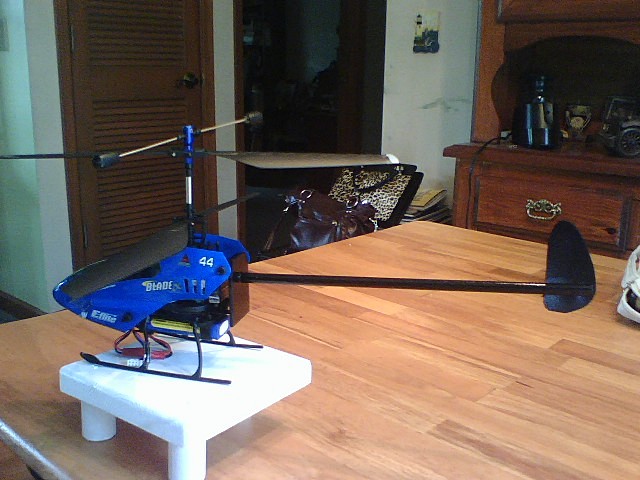 Home-made Tail Boom |
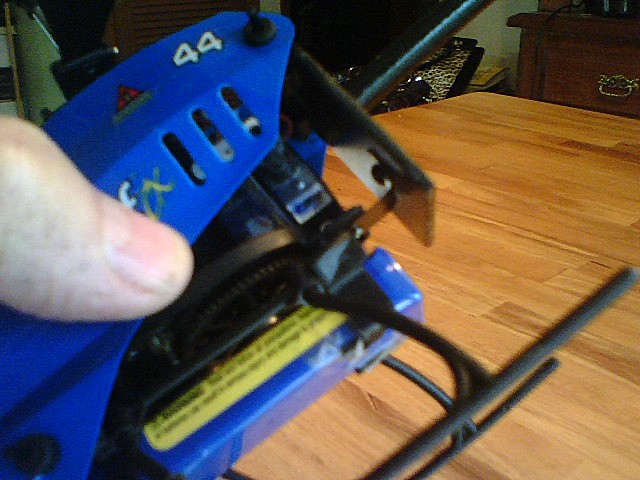 Closeup of the Bottom Brace |
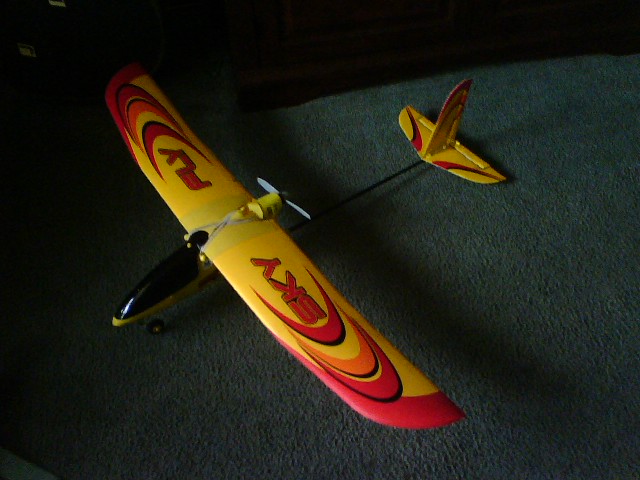 RC Airplane |
These are the first Chair sets I made.
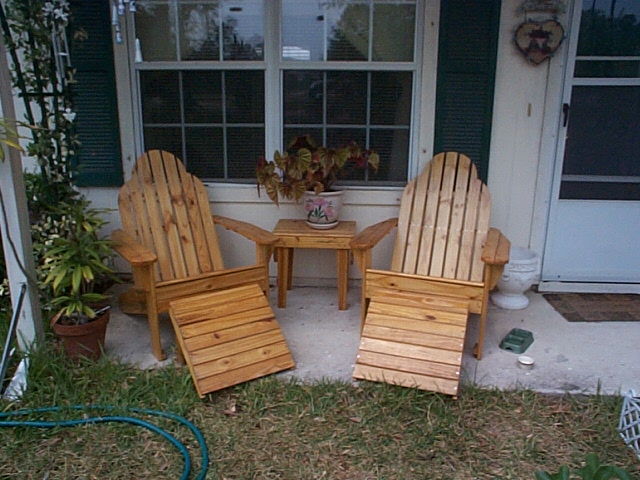 Chairs, Table, and Footrests |
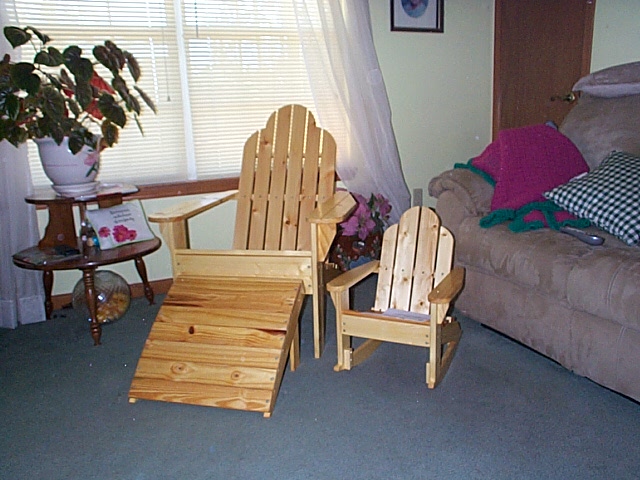 Chair, Footrest and Little Rocker |
One of the ladies the wife works with asked if I could build two chairs connected with a table in between. here is the result. So far I've made five of them. One of them for us of course.
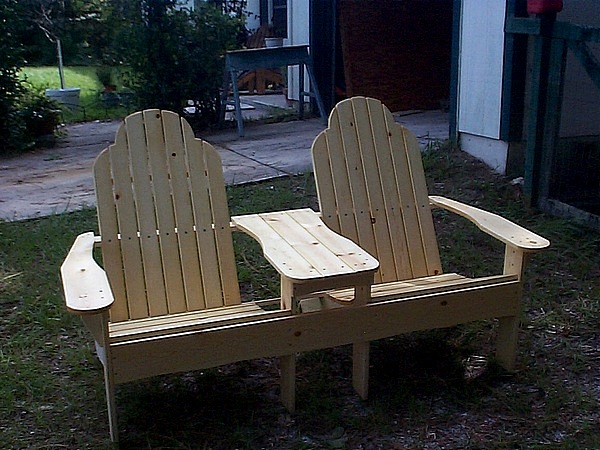 Double Wide |
I made the first set of chairs, and my son's girlfriend asked if I could make a small kid-sized chair. I said "I didn't see any reason why not and cut the plan dimensions in half, which made a 1/4 sized chair. Then she asked if it might be possible to put rockers on it?
Below is the result:
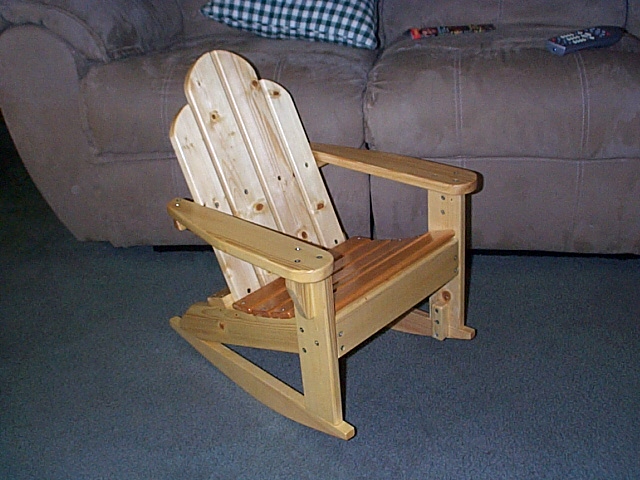 The Little Rocker |
 The Little Rocker |
Our church needed a welcome center for the children's building. Here is the result:
 The Welcome Center |
A lady in church wanted something to put her bible on that would hang on the back of the pew. Here is the result:
 The Bible Holder |
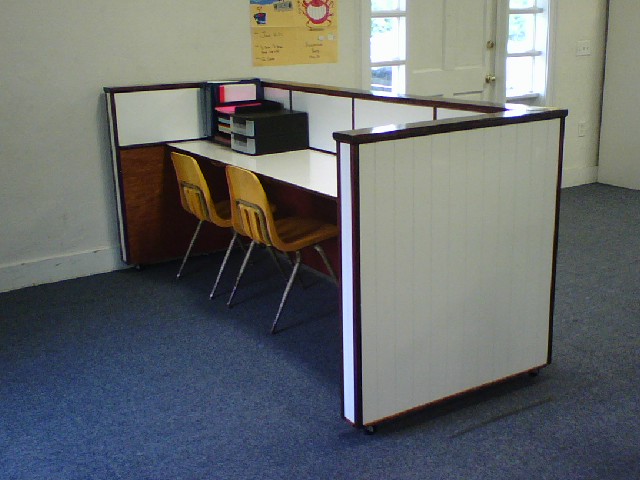
My wife, Deborah, works with some ladies who are schoolteachers, and naturally do a lot of paperwork. I was asked to make a paper filer. Here is the result:
 The Paper Filer |
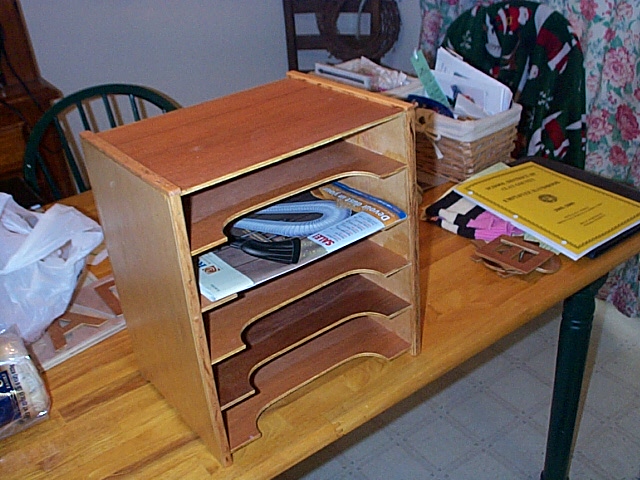 The Paper Filer |
I get a Woodworking Magazine, and they had plans for this to keep their magazines in. I have made 6 or 7 of them so far.
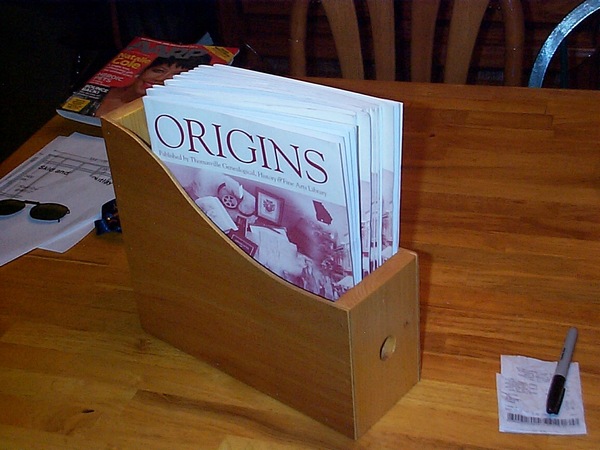 The Upright Filer |
A lady my wife works with wanted a full size heart shaped rocking baby crib. Here is the result. It is put together entirely with dowels and glue. No metal fasteners were used.
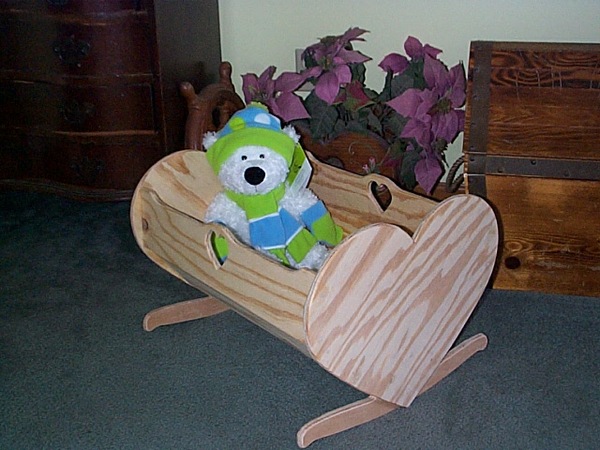 The Heart Crib |
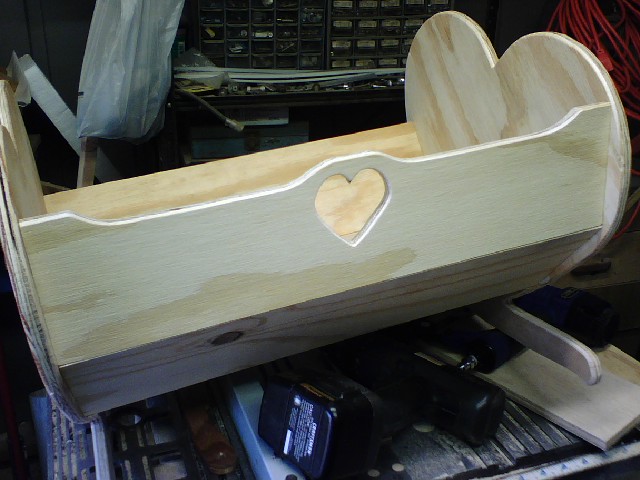 The Heart Crib |
The wife works as a teachers aide and is in charge of a blind girl. She thought it might help her with her alphabet if she had a name board with removeable letters so she could feel what they are shaped like. I made one for her, and some others wanted them also for their kids and grandkids. This is what they look like.
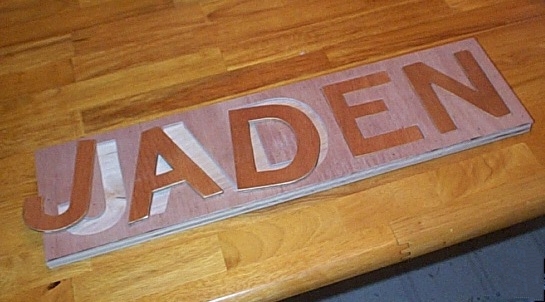 The Name Board |
Way back in 1969, I was living in a lake cottage on Chautauqua Lake in New York State. I wanted to have a sailboat, so as a test more or less, I built a small one. I got the plans out of a magazine. The sail came from a loft in Erie, Pa.
It is an 11 foot Moth Class boat. made of plywood on sawn frames. It was a lot of fun building and sailing.
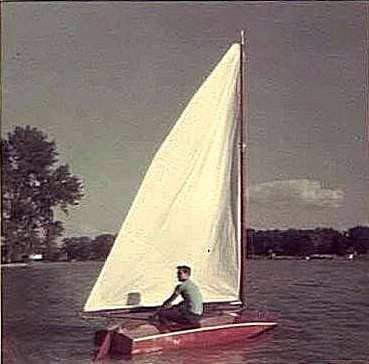 Jim and Caja |
In 2010, our church had a Vacation Bible school, and I was commissioned to build a Chuckwagon mockup. Following are some pictures of that.
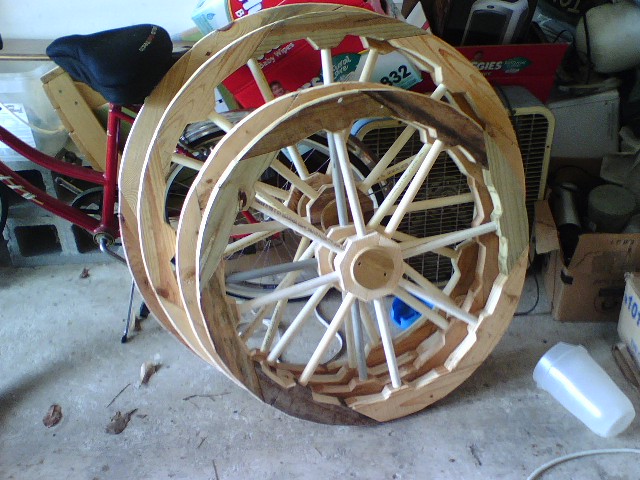 The Wheels |
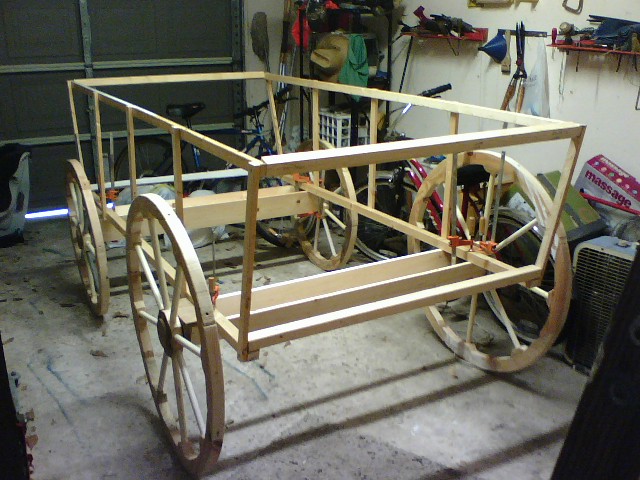 The framework |
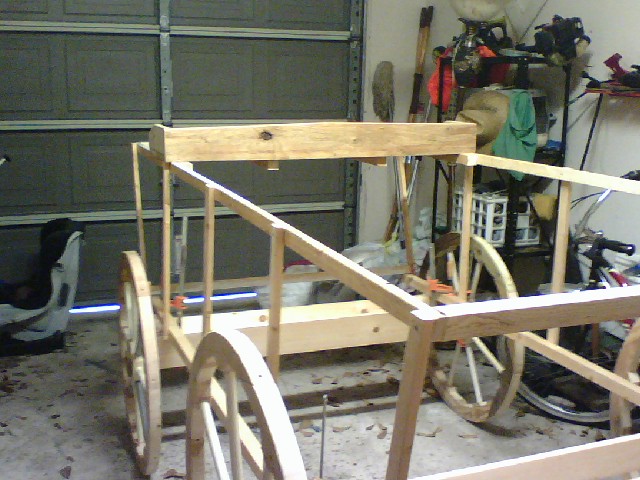
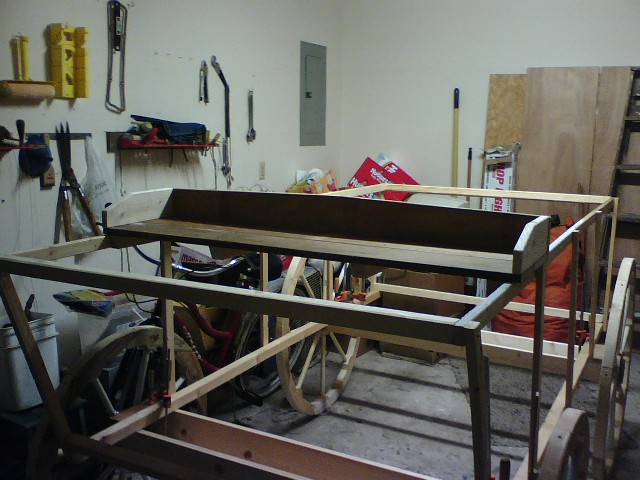 The Seat |
 Back View |
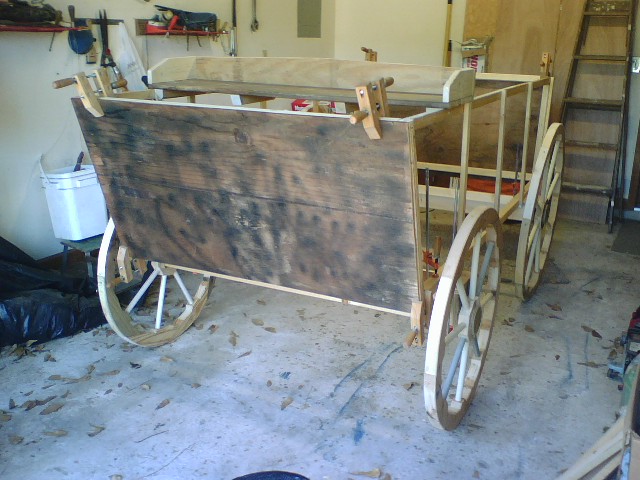 Front Panel in Place |
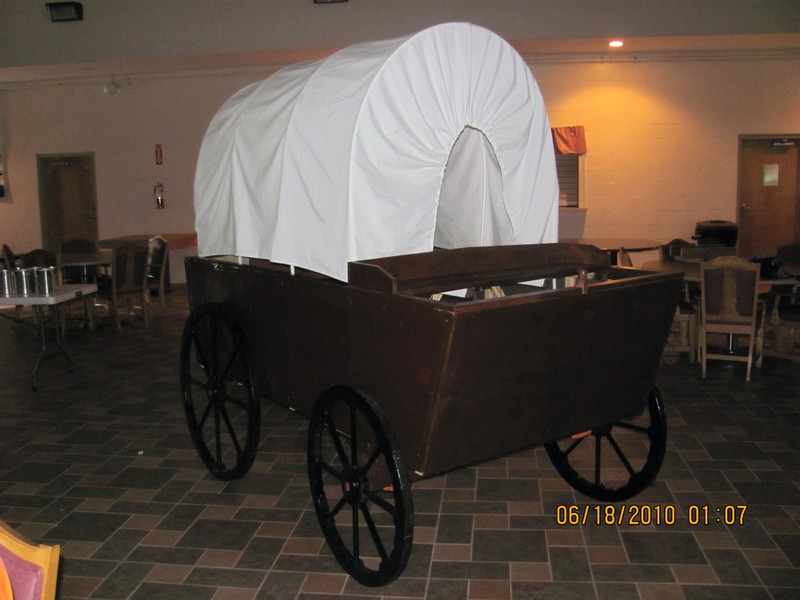 Complete Wagon in Place |
The seat will be strong enough for kids to sit on to have pictures taken.
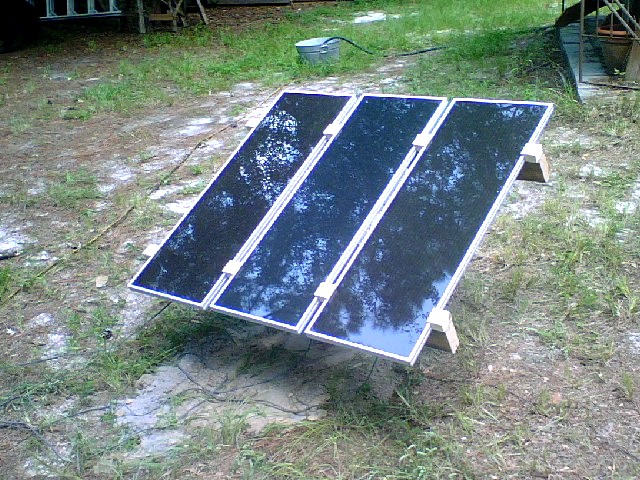
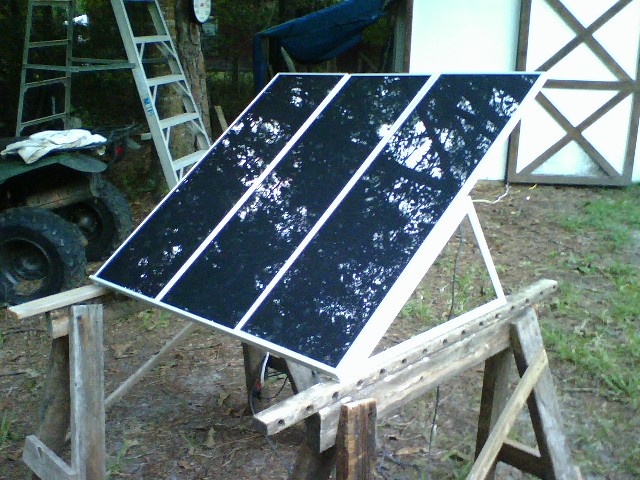 The New Panels |
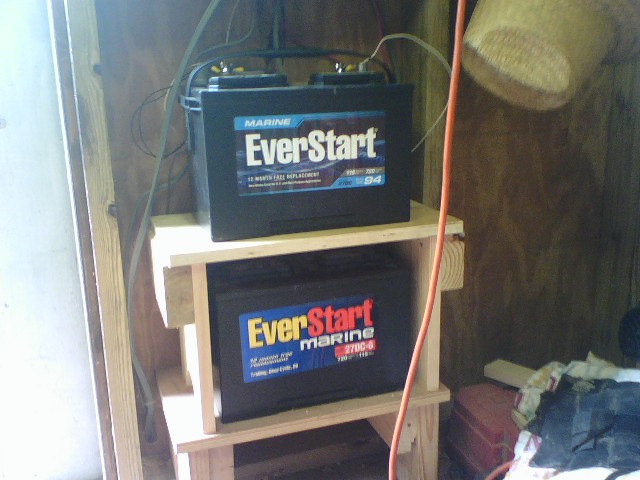 The Batterys |
On the left are the new panels temporarily set up just to get them online. On the right is the batterys. (Haveing 2 batterys has made a big difference in what I can run.) They also will have connectors on the end of the wires instead of clamps.
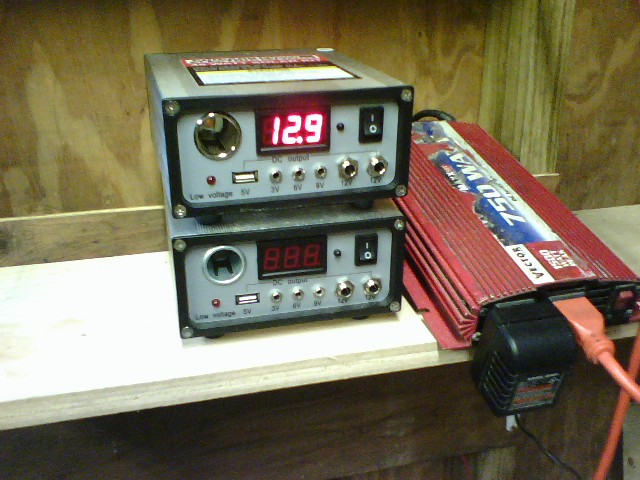 The Two Regulators |
 |
These are the two regulators, which together can put out over 7 amps. On the right is the 750 watt inverter. It can put out about a little over 6 amps continuous, so it is a little small for table saws and such. however, it does have a surge rating of 1500 watts. On the right is the other panels again.
I had been needing a router table, so, I decided rather than buy, I would try to build one. I have to say, it came out great! Today, 3/15/2012 I finally made a good fence for it. I'd been using a board and a couple clamps.
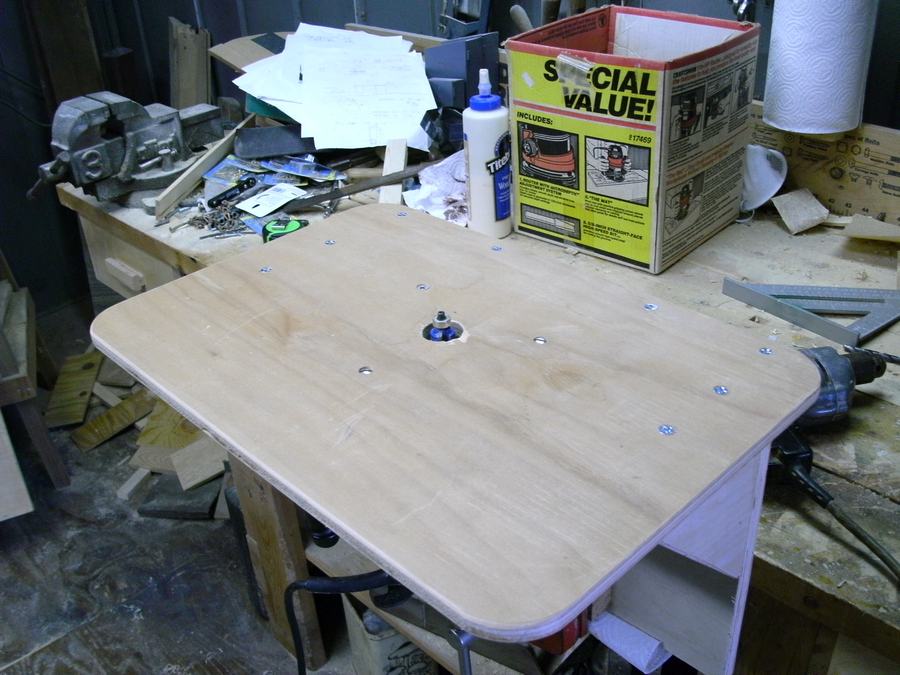 A nice flat top from quality plywood. |
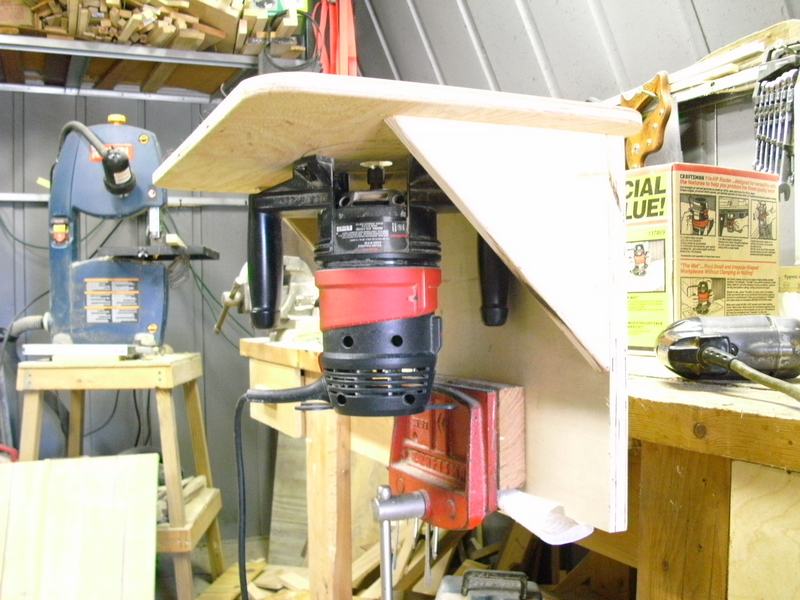 Just enough clearance for the vise jaw. |
 Braced and glued. |
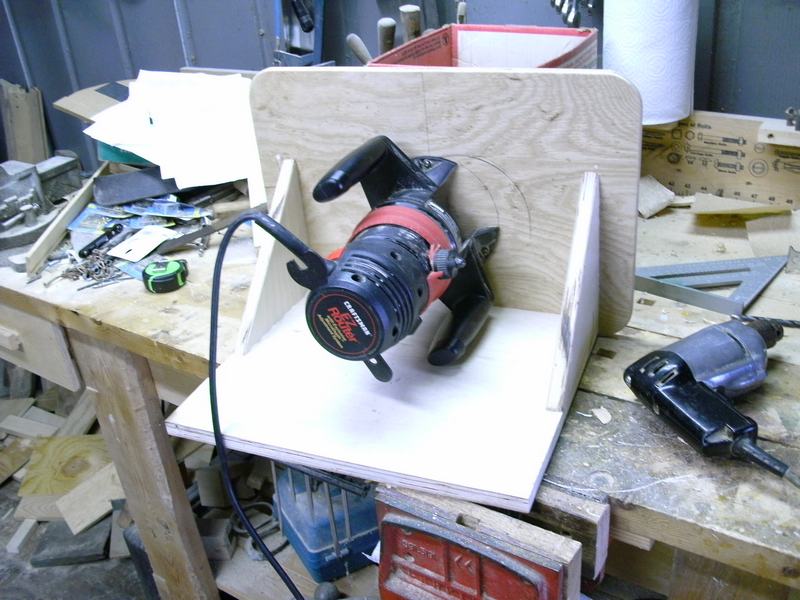
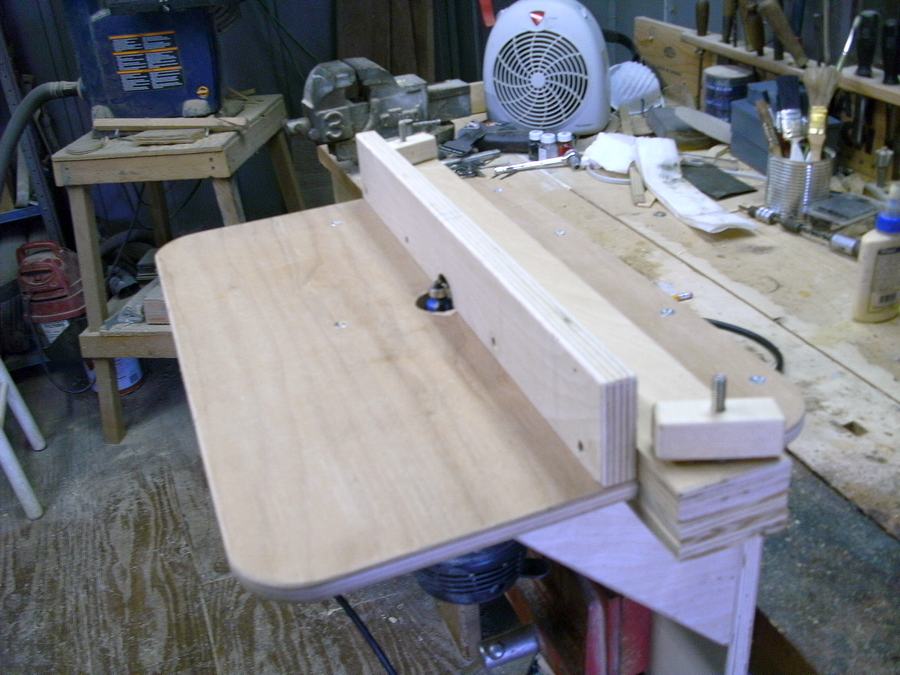 The router table with the new fence. |
 The clamp. |
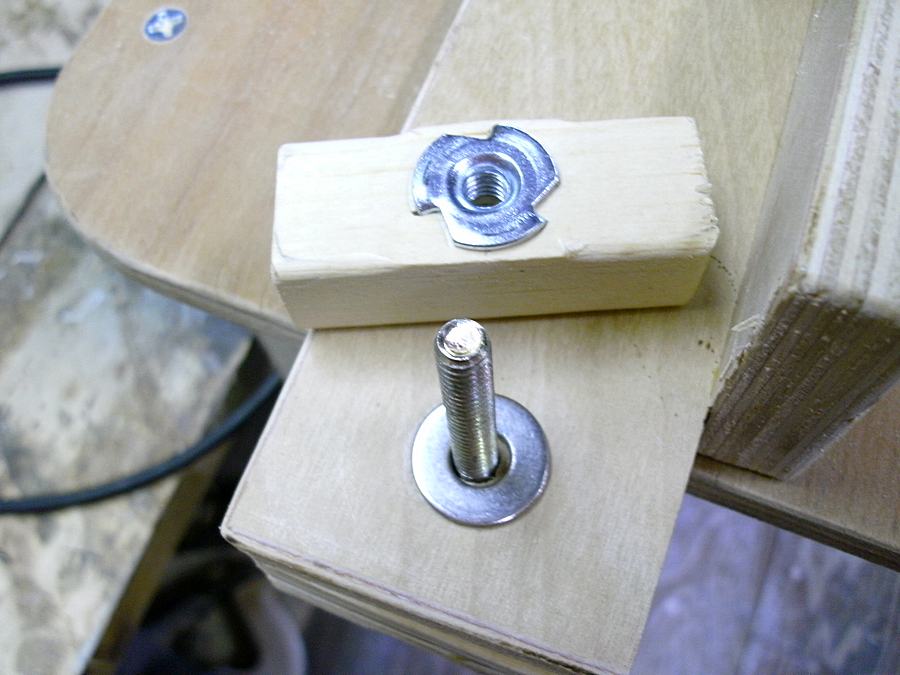 The clamp parts. |
Having a router table has opened up a whole new world to me. Things I was doing before with a hand plane, are now done twice as fast and with better quality. I've also been able to make my own moldings.
Some time ago, we had a bad wind storm, and the Trellis we had over our walkway bit the dust. It was one of those cheap foreign jobs that you buy at "Wally world". It had needed replacing for a long time. I'd put off doing it because it had a lot of vines grown all around it, and I was thinking about a way of taking it out and installing a new one without disturbing the vines too much. Well, the wind took care of that.
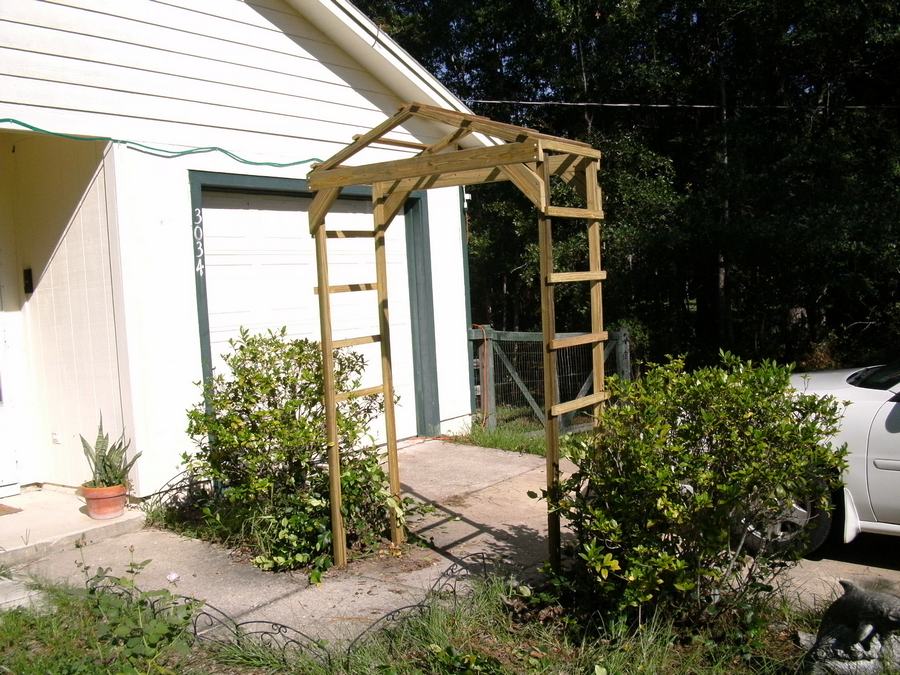
The New Trellis.
Now, I need to wait a couple months until the vines grow back up around it.
Continued on Photo Gallery 2